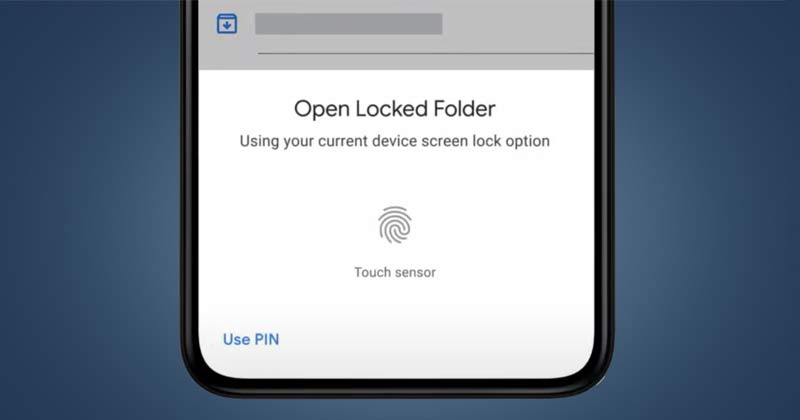
However, now Google is rolling out the Locked Folder feature for non-pixel devices as well. So, if you are interested in giving the Google Photos Locked folder a try, you are reading the right guide. In this article, we will share a detailed guide on enabling and using the Locked folder in Google Photos. Let’s check out.
What is Locked Folder in Google Photos?
A locked folder in Google Photos is basically a vault that is secured by a fingerprint or phone’s passcode. Once you put the photos in the locked folder, they will not be accessible by other apps on your device. What’s more interesting is that users can even store the photos in the locked folder right after taking them from the camera app. However, the one thing that users should note is that the picked moves to the Locked folder will not be backed up. Also, the picture you move on the Locked folder will be deleted from the backup file.
Steps to Enable & Use Locked Folder in Google Photos
Now that you are fully aware of the Locked Folder feature, you might want to enable it on your device. Here’s how to enable the Locked folder in Google Photos.
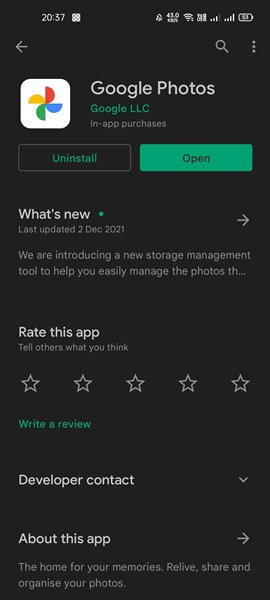
First of all, head to the Google Play Store and update the Google Photos app.
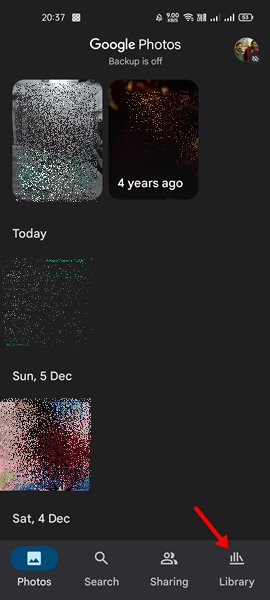
After the update, open Google Photos and tap on the Library button.
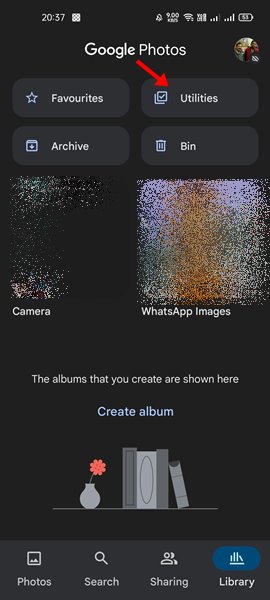
On the Library page, tap on the Utilities.
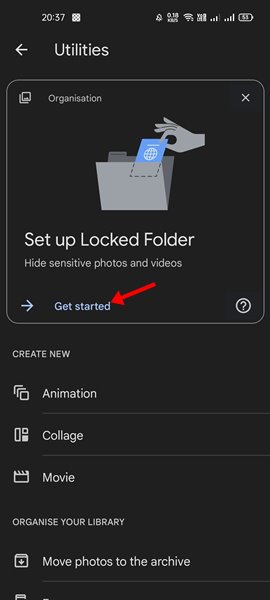
Now scroll down and tap on the Get Started button on the Set up Locked folder section.
Next, tap on the Setup button at the bottom right corner of your screen.
Now, select the photos you want to move to the locked folder. Next, tap on the three dots and select the Move to Locked Folder option. That’s it! You are done. This is how you can enable Locked folders in Google Photos. Although Google Photos ended its plan by offering unlimited storage, it keeps on introducing new features. So, what do you think about the new locked folder feature? Share your views with us in the comment box below. If you have any doubts related to this, let us know in the comment box below.
Δ
