While internet plans have become more affordable now, ISP and the operating system often restrict users from using the full speed of the internet. Hence, if you feel your ISP is not providing you with the promised internet speed, you need to check a few things before raising a complaint. You can tweak a few settings on Windows to increase your internet speed. These are general tweaks and do not harm your computer. Even if you already have high-speed internet, you can make a few changes to the internet settings to increase its speed.
Boost And Increase Your Internet Speed Upto 20%
Hence, this article will list some of the best methods to boost internet speed up to 20%. So, let’s get started.
- Limit Reservable Bandwidth There is some bandwidth limit that remains reserved on our computer. This bandwidth is for system use and is allocated to a system by default. This bandwidth includes 20-30% of the internet speed of the full speed of a connection. Here’s how to limit reservable bandwidth.
- First, press Windows Key + R button. On the Run dialog box, type gpedit.msc and press Enter.
- This will open the Local Group Policy Editor. Navigate to the Administrative Template > Network Options > QoS packed schedules.
- Double click on the file Limit reservable bandwidth. Next, on the Limit Reservable Bandwidth Window, select ‘Enabled’ and set the Bandwidth limit % from 20 to 0. Once done, click on the Ok button. That’s it! After making the changes restart your Windows computer. This will boost your internet speed.
2. Managing Cache
Caches are temporarily stored internet data used by browsers like Internet Explorer, Google Chrome and Mozilla Firefox, etc., to open any site faster after visiting any site. This cache gets stored automatically on your computer. Although caches are designed to speed up your internet speed, sometimes, it can slow down the internet speed when they exceed the limited size. In that case, we must clear the caches to speed up the internet.
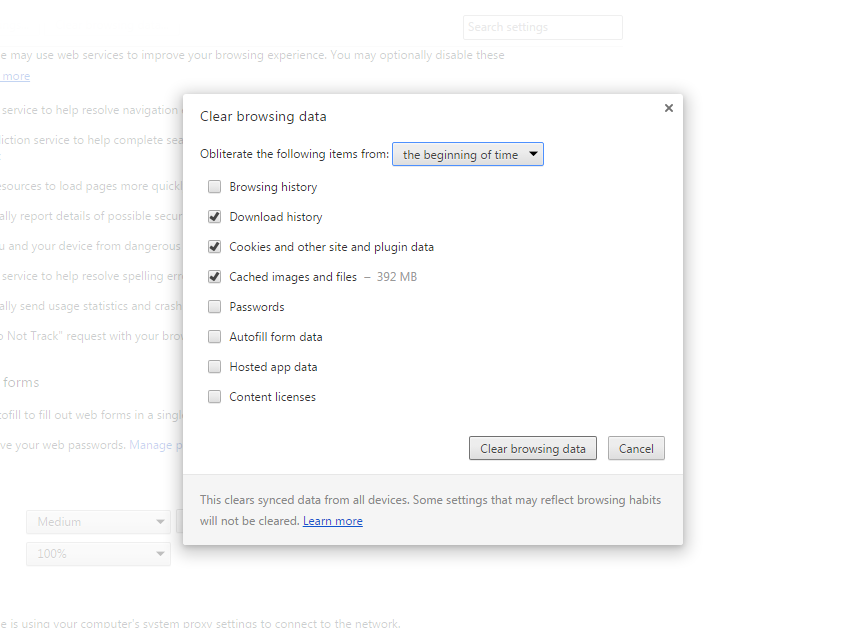
- Open Google Chrome and press CTRL+SHIFT+DELETE.
- Select the Temporary Internet Files, History, and Cache data.
- Click on the Clear Browsing Data button. This will delete all your temporary Internet data, history and cache data from your computer. By this, your internet speed will get boosted.
3. Increase Speed using Device Manager
You must change the Communications Port on the Device Manager to boost your internet speed. Here are the changes you need to make.
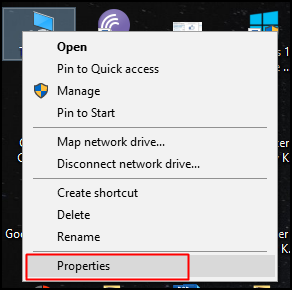
First, right-click on my computer and click on Properties.
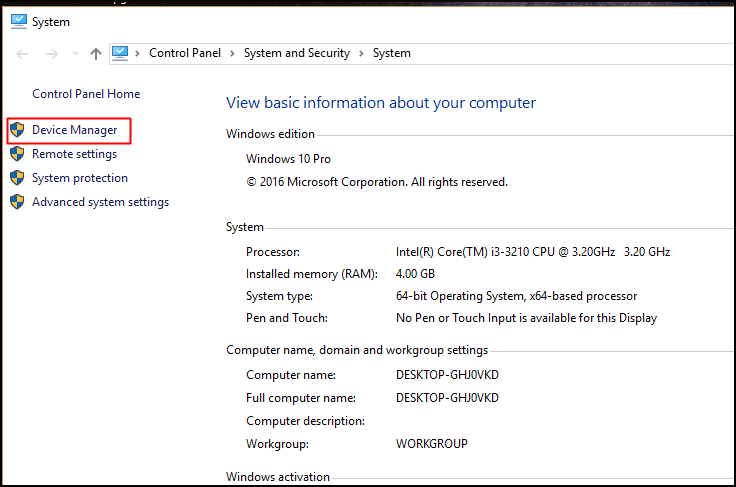
Now you need to click on Device manager
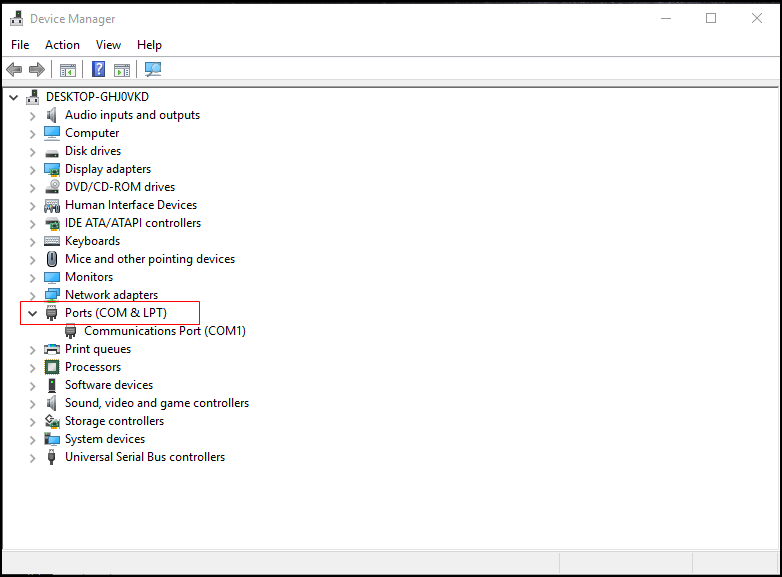
Now, you will see a new window will open. Here you need to expand the Ports.
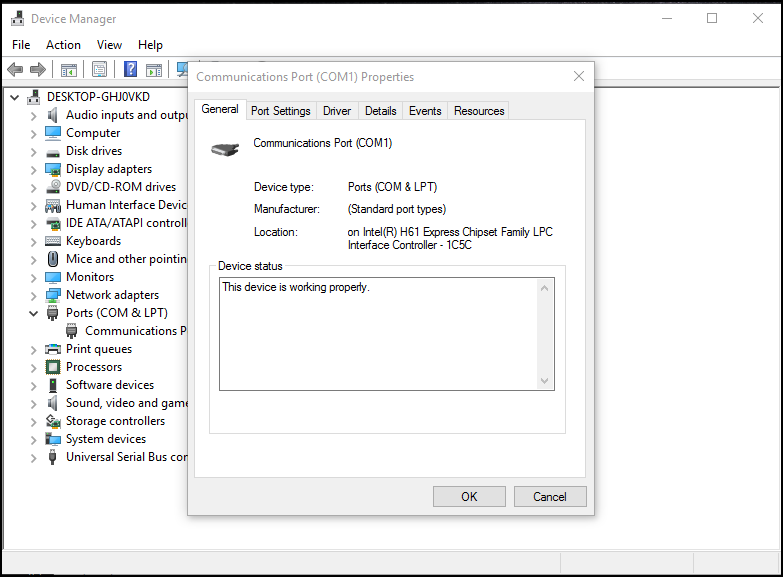
You need to click on Communications Ports and double-click on it.
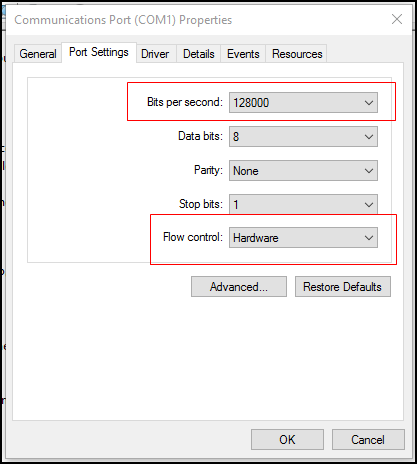
Now, switch to the Port Settings tab. Next, you must change “Bit per second” to the maximum available and “Flow Control” to Hardware.
That’s it! Now restart your PC. You will notice the increased speed up to 20%-30%
4. Set Up Google DNS
You can set up Google DNS On your windows computer. This will boost your internet speed, and you can notice almost 10-20% increased speed while browsing the internet. Lets’ know how to do it.
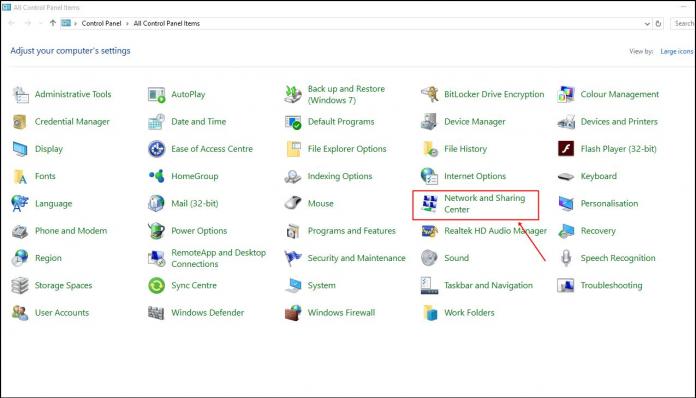
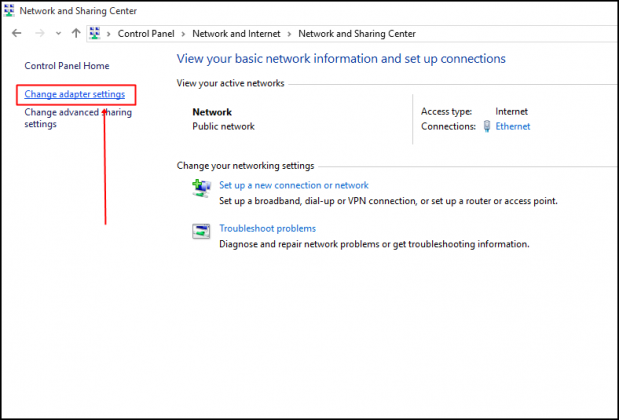
First, open the Network and Sharing Center from Control Panel.
Now, from there, you need to click on Change Adapter Settings.
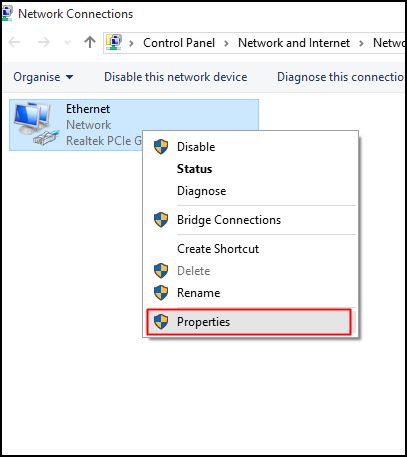
Here, you will see all the networks. Select the connected network and there right-click on it, and then select Properties.
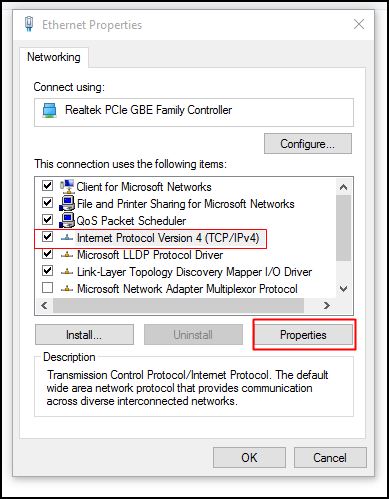
Now you need to select the option Networking, and there you need to find Internet Protocol Version 4(TCP/IPv4) and click on Properties.
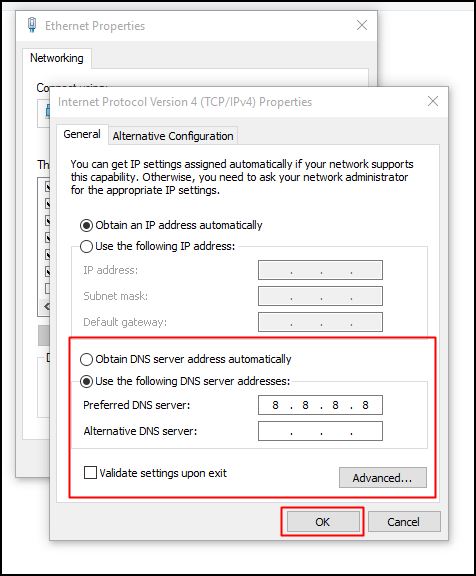
You must choose Use the following DNS server addresses. There you need to fill in the Google DNS value 8.8.8.8 or 8.8.4.4 and then click on “OK”
That’s it! Now restart your computer to enjoy the increased speed.
5. Using NetSetMan To Change DNS for Faster Internet Speed
In the previous method, we explained how to change the default DNS to Google DNS for faster internet speed. However, you can also use NetSetMan to change your DNS settings. NetSetMan is not limited to changing DNS Settings; with this tool, you can find many features like you can manage your WiFi network, Workgroup network drives, and much more.
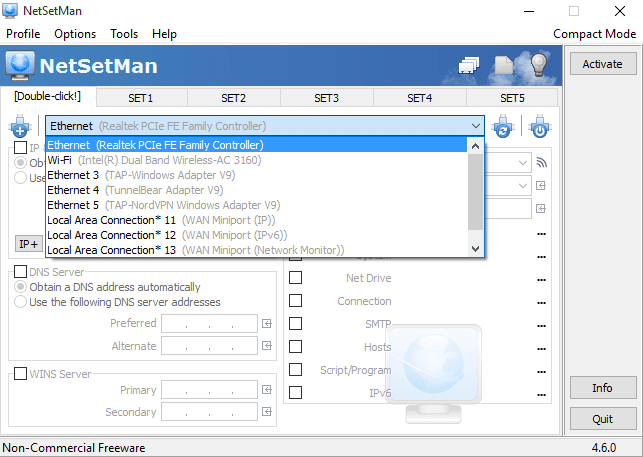
First, download and install NetSetMan on your Windows computer and launch the app. From the adapter drop-down, you need to select your connected network.
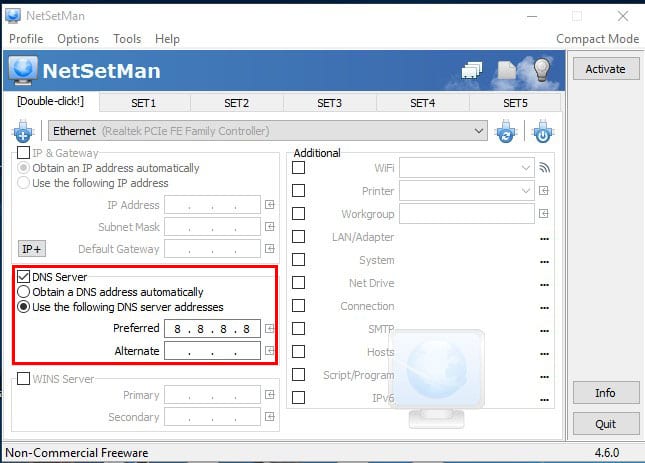
You need to click on the DNS server box shown in the screenshot and enter the DNS server that is 8.8.8.8 OR 8.8.4.4.
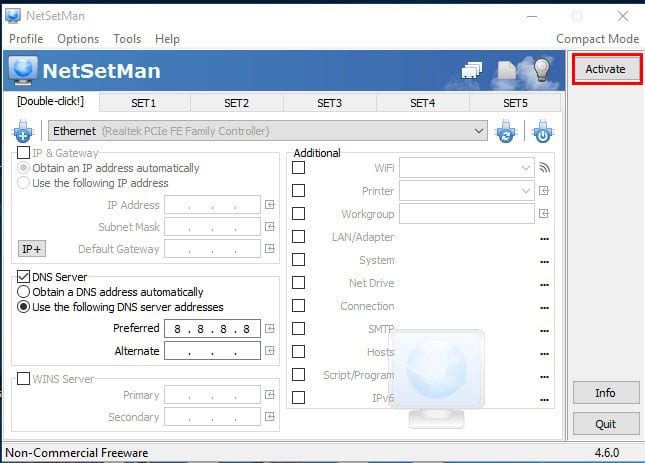
Finally, click on Activate.
That’s it! This is how you can use NetSetMan to change the default DNS of your connected network. This will improve your network connection speed to some extent.
6. Remove Other Devices Connected To Your WiFi
Since we all rely upon WiFi to access the internet, it becomes more than important to look at connected devices. Look, we can’t restrict everyone from using our WiFi connectivity; however, if you want better speed, you need to block them. Here we will share an easy method to remove devices connected to the WiFi.
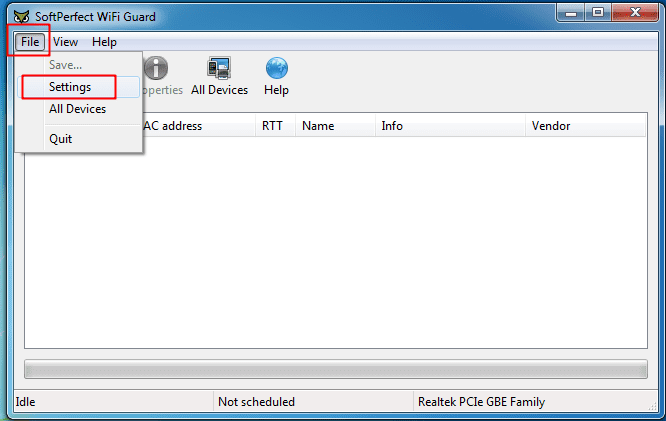
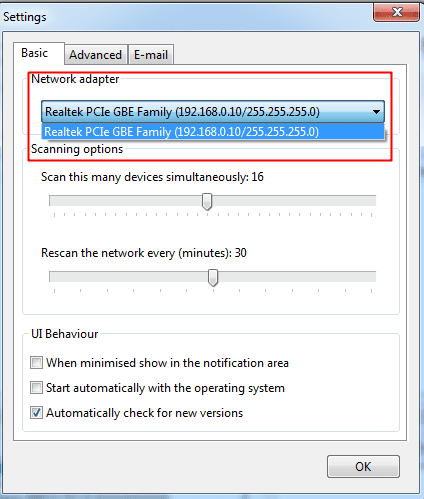
First, download and install WiFi Guard on your Windows computer. Next, you will see the interface like below. Here you need to click on ‘File’ and then choose Settings.
In the next step, select your WiFi adapter from the drop-down list.
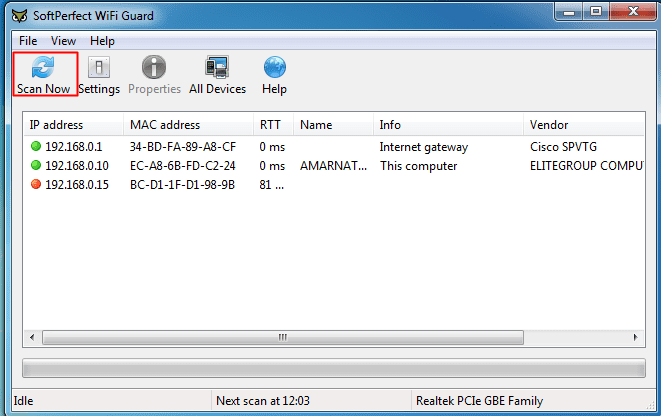
Move to the home screen and click on the ‘Scan Now’ option. It will scan and list down all devices connected to the WiFi network. You need to copy the MAC address of the device you want to block.
In the next step, you need to head to your Router’s homepage. Under your router’s dashboard, enable the option ‘WiFi Mac Filtering’ and then click on ‘Add New’
Next, add the MAC address you have copied from the WiFi Guard, and the device will be blocked from accessing the internet. That’s it! This is how you can increase your internet speed by removing devices connected to the WiFi network. If you have any other doubts, then make sure to discuss them with us in the comments.
7. Increase Internet Speed On Mobile Devices
Well, just like on computers, you can change DNS servers on your smartphones to get enhanced browsing speed. So, in this section, we will share a tutorial for Android and iOS to change the DNS servers. So, let’s check how to change DNS servers on Android and iOS devices to increase internet speed.
Android:
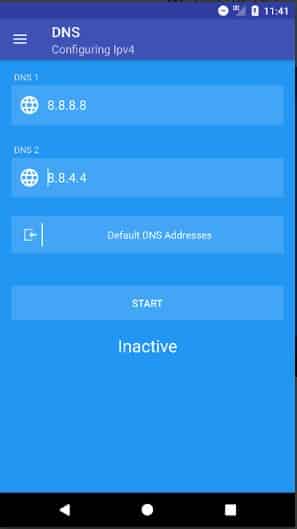
Well, you need to use the DNS Changer app on Android smartphones. The app doesn’t require root access to change DNS. So, let’s learn how to use DNS Changer on an Android smartphone to change DNS.
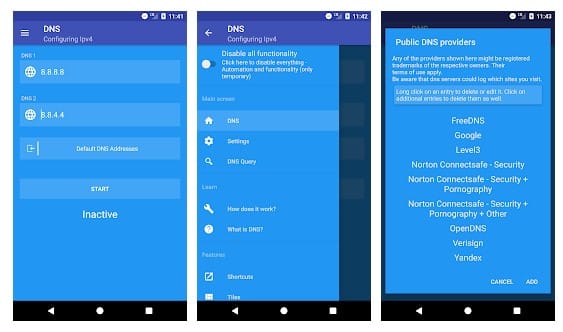
First, visit this link to download & install DNS Changer on your Android smartphone.
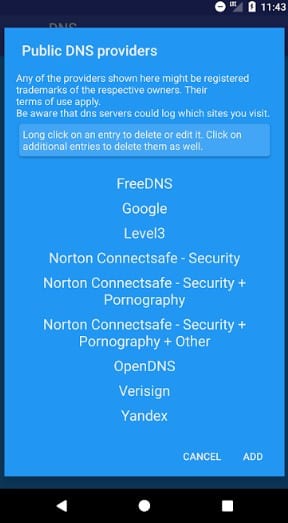
Once installed, open the app, and you will see the list of DNS Servers. , select ‘Google DNS‘ from the list.
Next, tap on the ‘Start‘ button.
That’s it! Now you have switched to Google DNS. Browse through the web, and you will notice better internet speed.
On iOS Devices:
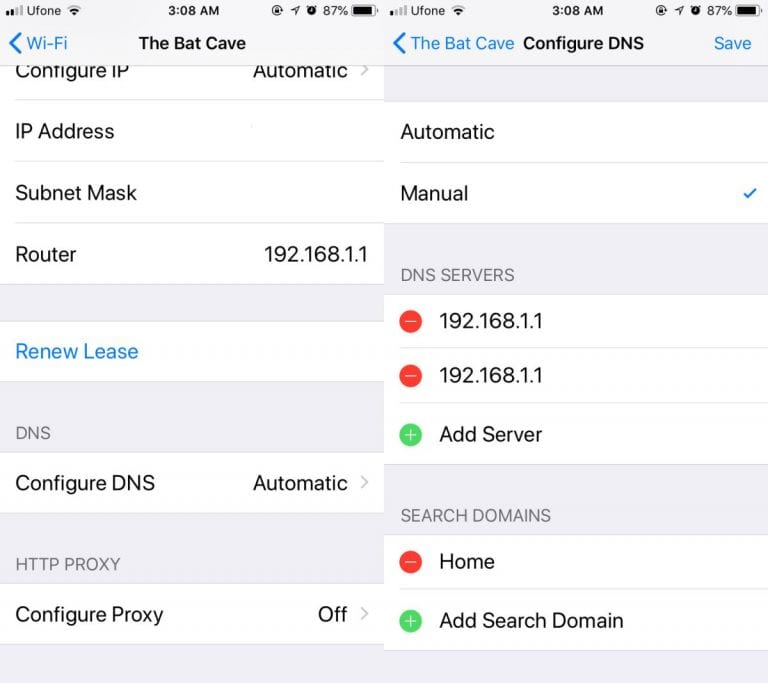
iPhone users don’t need to install any app because there’s an inbuilt option available to change DNS Servers. So, let’s check out how to change DNS Servers on iOS Devices.
First of all, head to Settings > WiFi on your iPhone Now you need to tap on the connected network and then tap on ‘Configure DNS‘ Under the Configure DNS page, you need to tap on the ‘Manual‘ Now, tap on the ‘Add Server’ and enter the DNS address 8.8.8.8 and 8.8.4.4.
That’s it! This is how you can change DNS Servers on the iPhone. So, these are some of the best ways to boost internet speed up to 20%. If you know of any other ways to increase internet speed, let us know in the comments below.
Δ